Photobie is also a .NET windows application, and the .NET Framework 1.0 or higher needs to be installed before you can run it. Among the free programs, this is one of the best available—a commendable fact, considering it's been (and is being) developed by Xuedong Chen, a PhD candidate in Boston. According to the Photobie site, "the developer intends to deliver Photobie as a freeware and is willing to keep updating it with new useful features". Noble indeed.
 Some of the main features of Photobie include a hotkey setup that allows users to customise up to eight keys for instant actions. Photobie also lets users capture any shape, and is not bound by the usual rectangles, circles or squares! You can also capture any screen to the image editor for instant editing in addition to capturing it to the clipboard.
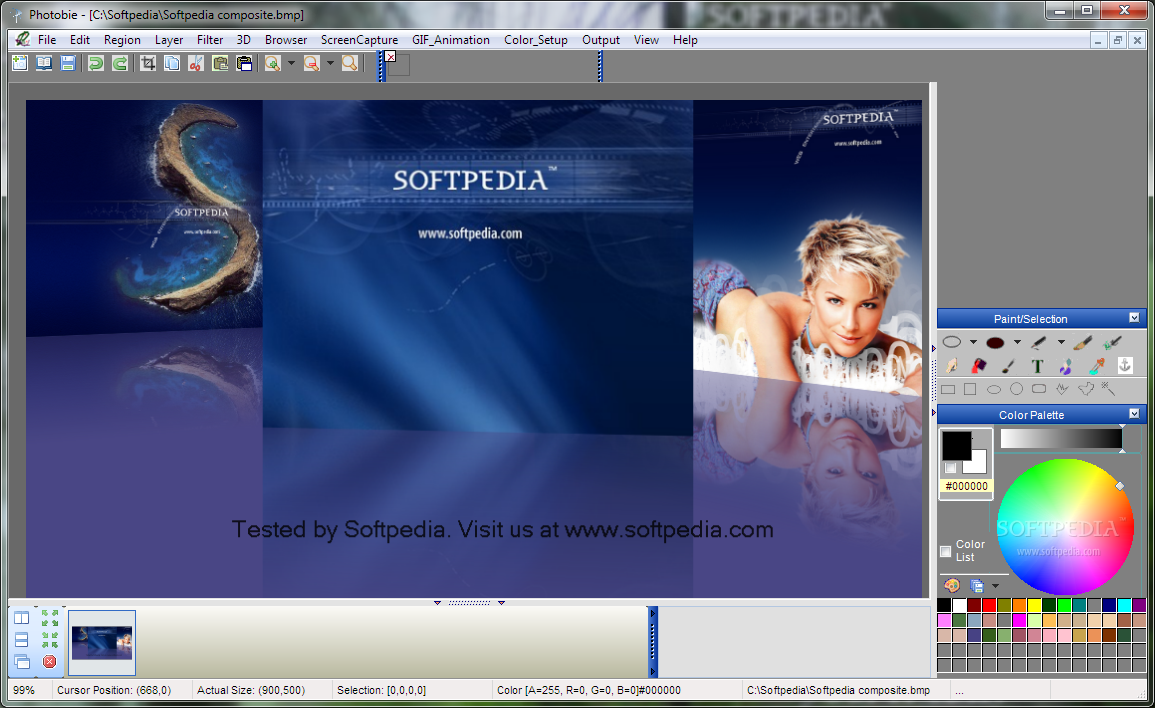
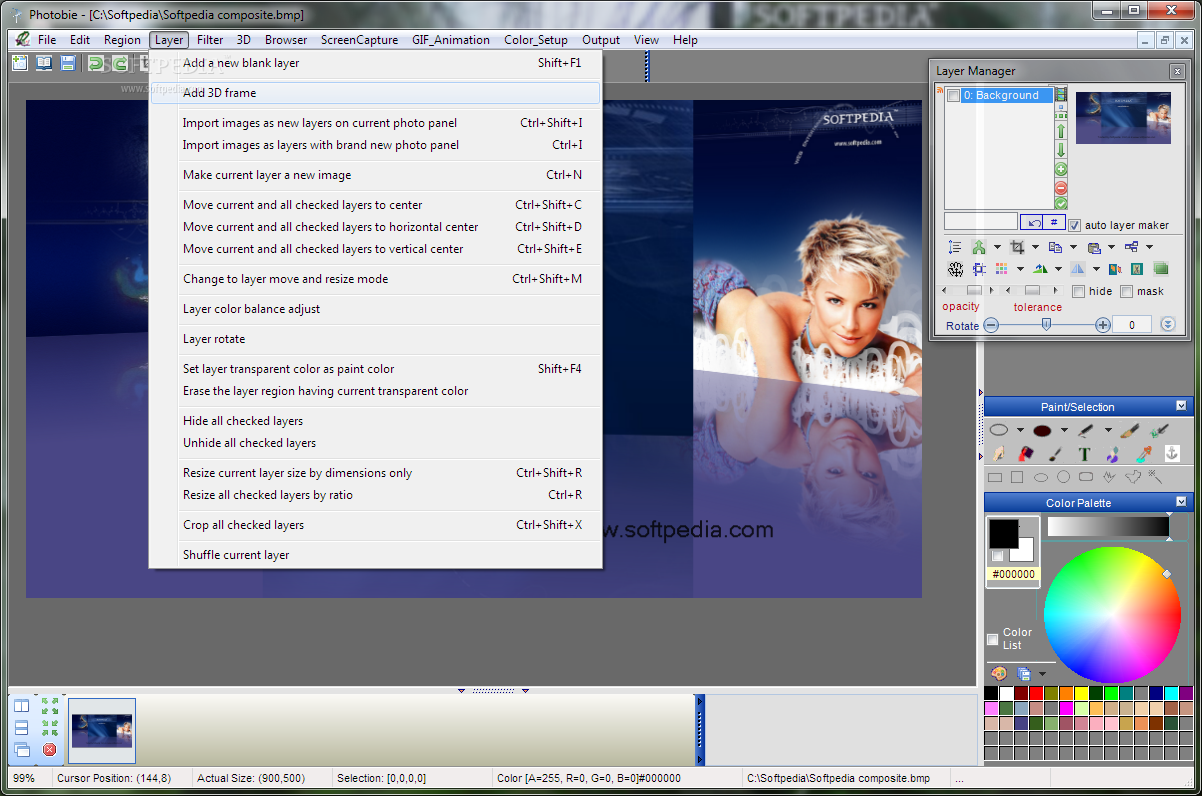
Keeping up with the growth of images on the Web, Photobie also has a specification that makes image output easier—users can predefine output image size for such usage making work faster. The exported images can be captured to a temporary bitmap image file and edited in another program if required. Perhaps the most advanced of all free image editing software, Photobie lets users do some nifty multi-layer image editing. That means users can clone, copy, paste, delete, merge, move backward/ forward, and set up layer transparent colour with RGB tolerance! Still think you need Photoshop?
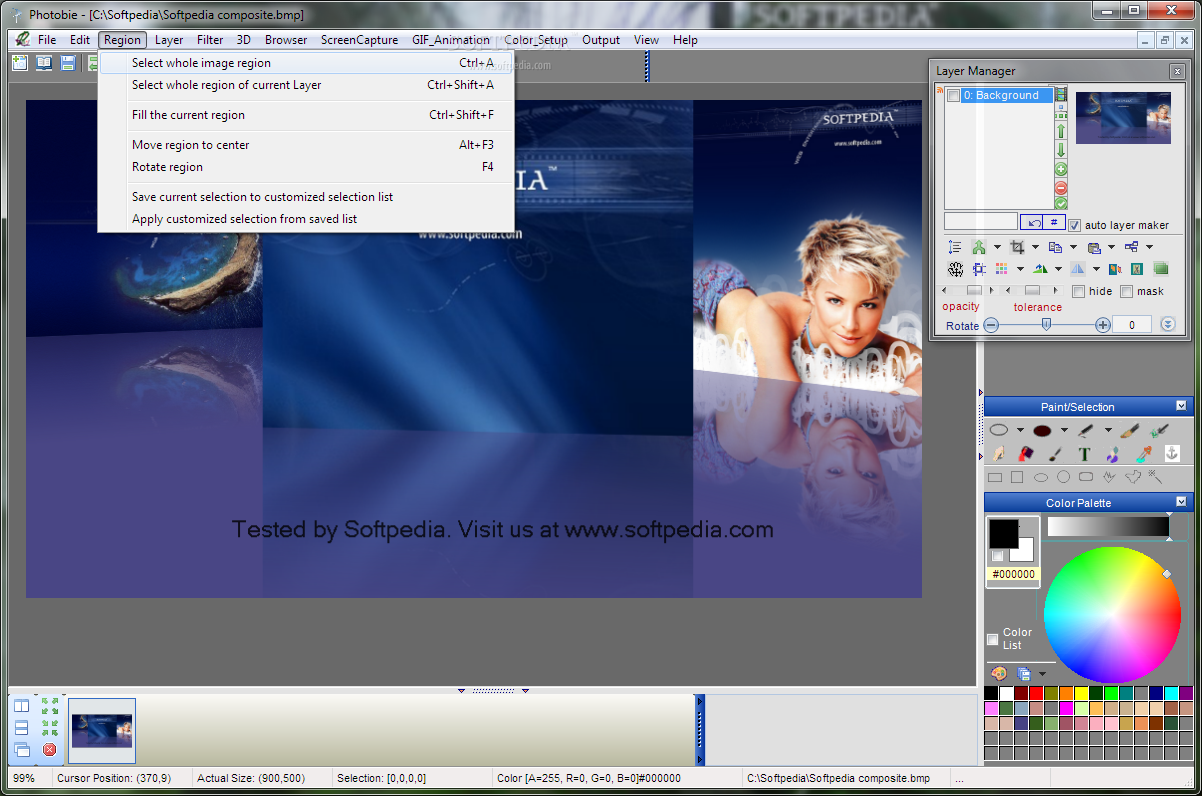
It's not only advanced features, though. The software also has features for basic editing tasks, such as draw/fill any shapes, and it also writes text. The draw/fill is treated as a new layer so you can easily move and adjust it. General image editing includes selecting shaped areas, copy, cut, paste, paste as new image, erase, zoom, resize, rotate, flip, adjust colour brightness/contrast/alpha/gamma/saturation, etc.
Unlike Photoshop, most other image editing software allows for only one or two-step undo options. With Photobie, though, there is undo support for erase (unlimited step undo), resize, rotate, and colour adjustment.
File formats supported:
BMP, TIF, PNG: 32-bit true colour image support
JPEG: Supports different quality compression
GIF: Supports both low-quality 256 colour compression and high-quality 256 colour compression (with transparency)
ICO: Supports transparent icon files, supports true-colour 32- bit with multiple bitmaps in one icon file with dimensions as (64 x 64, 32 x 32, 16 x 16)
PHOTOBIE (.pob): Multi-layer file format for multi-layer image editing support.
All these features are well integrated. You could also use Word to create all sorts of 'Art' fonts and text and capture it to Photobie, then set the transparent colour to White for the new layer. Here's a sample of how simple a task in Photobie can be:
To resize an Image/Layer:
Click on the 'Image > Resize' menu item. You'll see a dialogue form asking for the image size in pixels. If you want the width and height bounded as the original image, you need to check the 'Bounds' checkbox. After you click OK, the image is resized. Done. Alternatively, you can use the 'Zoom In' or 'Zoom Out' buttons on the toolbar to resize the image without losing resolution. To adjust the colour of an image/Layer:
Click on the 'Image > Adjust colour' menu item. A colour adjust menu will pop up with the balance control panel. With the trace bar, you can adjust the contrast, gamma, alpha (transparency) and even the three RGB components specifically. As you adjust, the preview panel shows the exact effect on the original image.
Complicated as it may sound, multi-layer editing is not tough with Photobie. Here's what is required
Select a layer: The simplest way is to double-click on the layer on the image directly. In case others hide the layer, you need to select it from the list box of the 'Layer Manager'.
Move the layer: Select the current layer and click on the 'Hand' button in the toolbar on the left. You can then drag the layer to the destination position.
Erase the layer: Select the current layer and click on the 'Eraser' button in the toolbar on the left. You can then erase the layer by dragging the mouse or left-clicking. You can also apply unlimited Undo for erasing.
Add a layer: the new layer is generally added through paste, draw/fill shapes, write text. In fact, every draw/fill action starting from mouse down until mouse release is considered a new layer. This feature allows you flexible control over the last action.
The default viewer bundled with Windows XP can display JPEG, GIF and other common formats, but when it comes to some of the heavier (read better) formats such as TIFF or PSD, the viewer can't recognise the format. Fortunately, today there are free options available to solve this problem.
Download it from here
No comments:
Post a Comment